
How To Do Gourds (Part Two)
***Close-up view of papier-Mache beard***

How To Do Gourds! (Part two)
FYI
Gourd crafts can be created with or without the seeds left inside. With some projects, of course, it’s necessary to remove the seeds, (Birdhouses,bowls and vases, for example!)
If making a Santa, the bottom can be cut off so the gourd sits secure and seeds can be easily removed! (Not so easy, though, with the small gourds used to make the Santa ornaments!)
(Husbands and /or boyfriends come in handy doing this part - as ladies don’t usually have power saws!)
I think it adds something of interest if the seeds are left inside and the finished craft has the noise of the seeds when shaken.
Only problem is…sometimes the finished gourd figure becomes infested with tiny bugs that eat their way out from the inside...tiny pinholes you can hardly see! The problem can be easily solved by putting the gourd in an airtight box and spraying inside with insecticide; leaving the item inside for a few days!
I prefer to leave the seeds inside the Santa figures- even with this possibility! :)
(Lol- If I want the sound of the seeds I will not be defeated by some tiny bugs that you can barely see!)
~~~~~~
Gourds are very versatile-and FUN to work with!
I have worked with many kinds - from the tiny ones you find for Thanksgiving decorating - to the long, crocked neck ones - the long dipper ones - the rounded ones and the bowling pin shaped ones…lol - and probably others that I am not remembering!
I have made a lot of things -including bird and duck figures -all sorts of bowls and vases-Bird houses…miniature and full size -usable ones! … Witches and Jack-o-Lanterns! Southern Belles! Clowns!
~~~~~~
This post will be devoted, totally, to what goes into creating my gourd Santas!
I have used several different types of gourds in making my Santa figures!
I make hanging or freestanding ornaments out of the miniature gourds.
Almost any shape or size or type of gourd can be used for Santas!
My earlier Santas were made with just painted features. As time went on I added a lot of different things.
…such as…
beards & fur trim of
Papier Mache-( one small strip of paper at a time (torn strips of newspaper- dipped in wallpaper paste and applied directly to the gourd.)
After the beard and fur are applied I would do the face, working to get the eyes just right! ( ;) Not always easy!) On most of my later Santas I used a hot glue gun to form the nose! (Works for me!!) The mouth was usually just a dot of red or pink- as the beard covered the area quite well!!
The next step was in painting the Robe of the Santa figure. I used a variety of reds and greens. That way, each one was more fun to make and they all turned out different! Some were a very festive Christmas red and some were the old fashioned look- the darker shades of reds and greens. I also used white-white and antique white…depending on what was best for each Santa! I also added gold and silver –especially to the fur trim to make it stand out from the beard! The beard sometimes had glitter added!
After the painting was completed (and there was no overlapping of the colors) and the figure was dry, then it was time to add the trim!
I used a lot of things for my finishing trims…
tiny pine cones (I found these in NC) fake red berries, flowers, holly leaves (I sometimes made holly out of cardboard, cut out, painted, and pinned onto the gourd with round head straight pins - painted red and tipped in hot glue to hold in place when pushed in!)
For the old fashion look I might use tiny grapevine wreathes and jute twine or heavy crochet thread to make bow trims…sometimes shiny bells, flowers and greenery, and fancy ribbon bows with the more modern, brighter hued Santas!
When everything was perfect (And checked more than twice!) then my final thing would be to spray the Santa with 2 or more applications of a finishing varnish!
Later-I did some santa figures with my wood burning tool- omitting any Papier Mache applications. They were quicker but not as showy!
This is a pair of hanging ,full size santas-with painted faces (no papier mache)
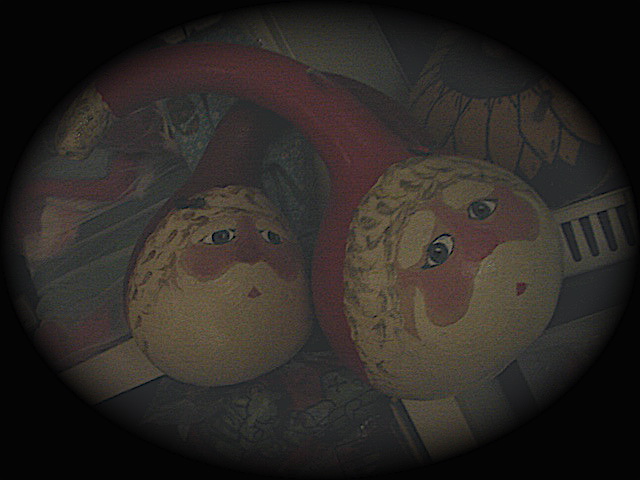

The one with the gold robe was done with wood burning tools-(the back part left natural) , the others are with Papier Mache accents!
The little ones hanging are ornaments from the miniature gourds.

And one pic of a group of gourds in the BEFORE stage!
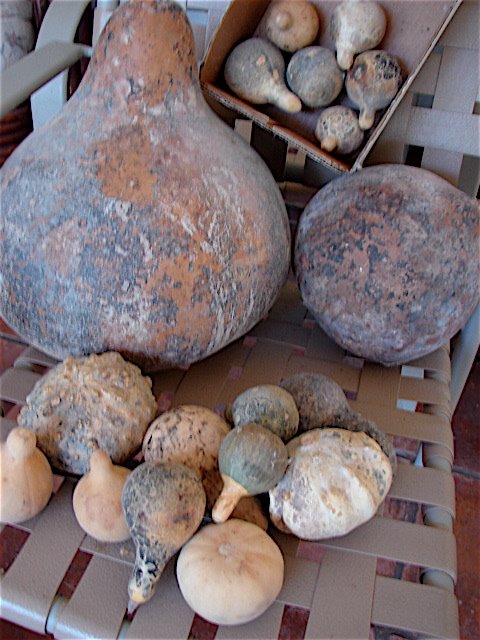
Enjoy!
Junie (of the Gourds!)
posted by JunieRose2005 @ 10:13 PM
2 Comments
![]()
![]()


2 Comments:
Junie of the Gourds,
This is very interesting! What type of paint do you normally use? Is there a special gourd paint, or is it acrylic or something else?
How do you get the noses so evenly shaped with glue gun glue? Do you sand them down after you've made the blob?
Sorry for so many questions! :)
Skye
Hi Skye,
I'm happy for your interest in the gourd crafts and will answer all your questions if I can.
Yes, I always used acrylic craft paints!
My favorite brand was called 'Folk Art.' Another good one is 'Apple Barrel.'
The noses were fun to do and I thought made the faces more interesting than the painted on noses. The way I did it was to put the tip of the hot glue gun at the bottom of where I wanted the nose and slowly pull the trigger to apply some glue; at the same time bringing the glue upward between the eyes,tapering off to a thin line. It got to be easy to do! No sanding is needed. Sometimes they would have a comicial look- but it fit fine with the type santas they were-'Folk Artsy' guys!!
The acrylic paint worked very well, covering the hot glue noses!
OH! I usually did the nose after I had finished making the beard. (but before the beard was painted)
Junie
Post a Comment
Subscribe to Post Comments [Atom]
<< Home